¶ Announcements
¶ Overview
Create live and/or schedule notification announcements that can optionally sent via email as well.
¶ Common Procedures
¶ Fields
Note: Mandatory fields are denoted by a
Fields used to display information to attendees are denoted by an
-

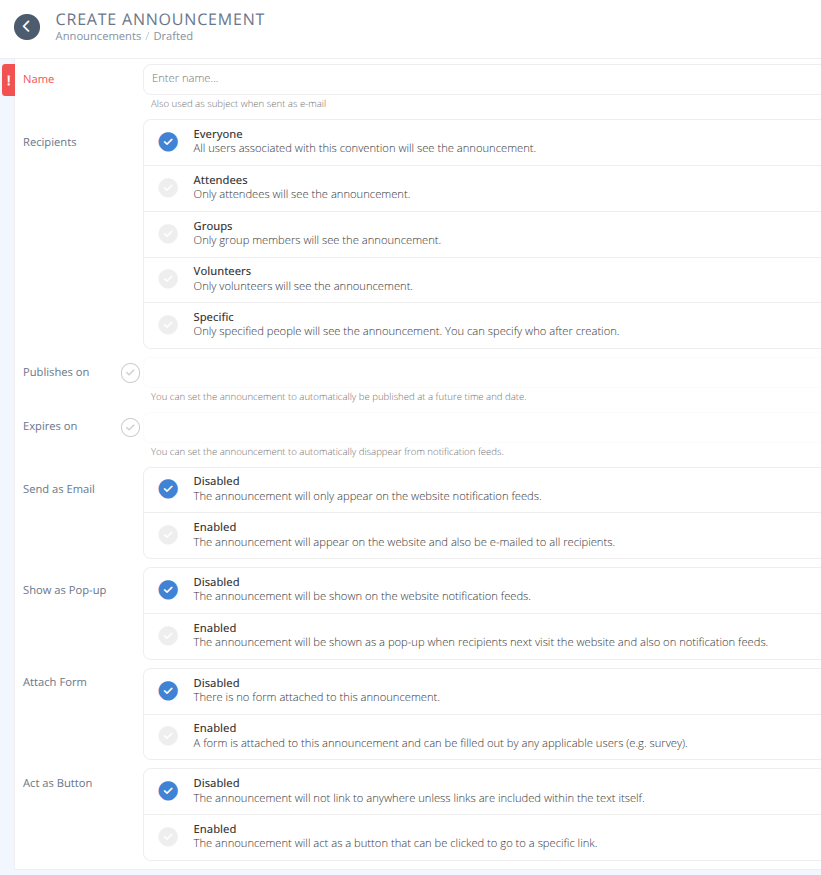
Name - Announcement name also used as subject when sent as an e-mail.
 -
Recipients- Who will receive the announcement, one of:
Everyone - All users associated with this convention will see the announcement.
Attendees - Only attendees will see the announcement.
Groups - Only Group members will see the announcement.
Volunteers - Only Volunteers will see the announcement.
Specific - Only specified people will see the announcement. You will specify recipients after creation.
-
Publishes on- The date and time the announcement will publish. If not selected the announcement will publish as soon as the Publish action is taken. -
Expires on- The date and time the announcement will expire (disappear). If not selected the announcement will not expire.
-
Send as Email- If enabled, the announcement will be sent to selected recipients.-
Form- Select the Form that will be attached to the announcement. -
Button - The label placed on the button in the announcement. Name - The name of the form (e.g. Attendee Survey)Intro - Optional text that appears before the form inputs.-
Success - The text that appears after the form is successfully submitted.
-
Show as Pop-up- If enabled, the announcement will display as a pop-up when recipients next visit the website or open the app. -
Attach Form- If enabled, attach a form (must already be created) that can be filled out by the recipient. (e.g. survey) -
Act as Button- If enabled, the announcement will act as a button that will redirect to the specified link-
URL- the full URL that the announcement will direct to.
¶ Procedures
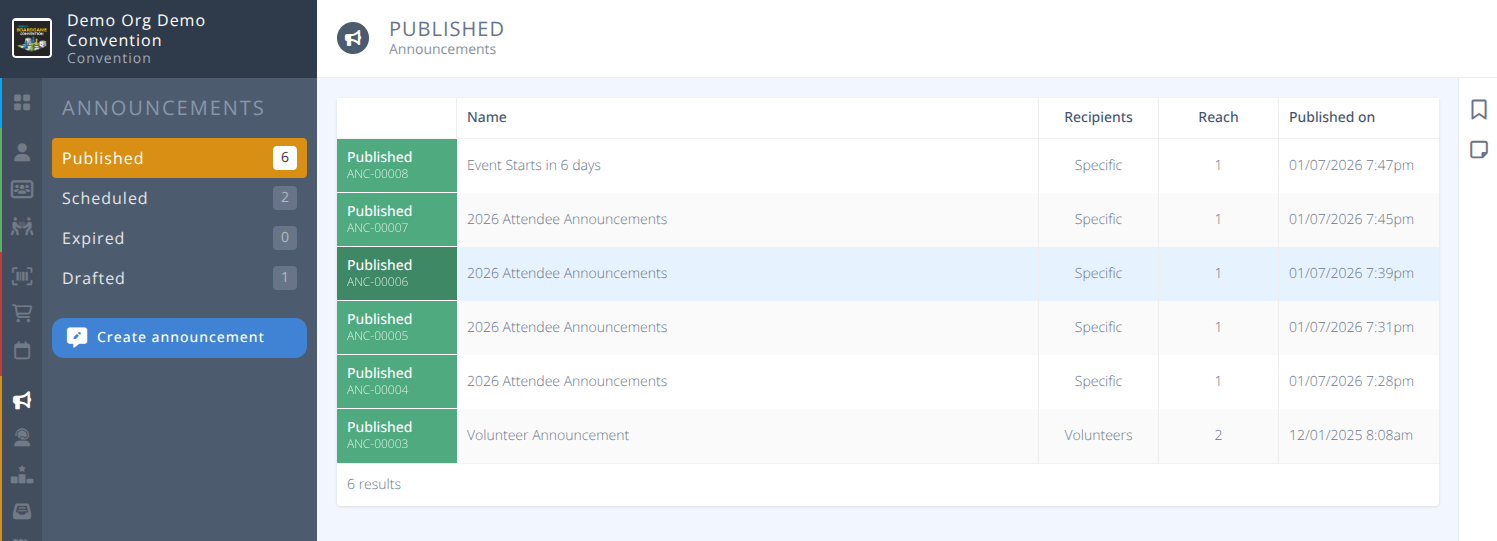
¶ Create an Announcement
- Click .
- Specify the Name.
- Select the Recipients.
- To publish on a future date/time select the checkbox and specify the Published on date and time.
- To hide the announcement at a future date/time select the checkbox and specify the Expires on date and time.
- Enable the ways you wish the announcement to be delivered. If all options are disabled it will still appear in the notification feeds.
a) Email - An email will be sent to the email address of the chosen recipients
b) Pop-up - A message will appear in a pop-up on the website or app of the chosen recipients. - If you wish to attach a form, such as a survey, to the announcement Enable Attach Form
a) Select the Form to attach. Note this must already be created inForms
b) Set the Button label, Intro, and Success messages. - Click .
¶ Publish an Announcement
¶ Expire an Announcement
¶ Sample Announcements
-
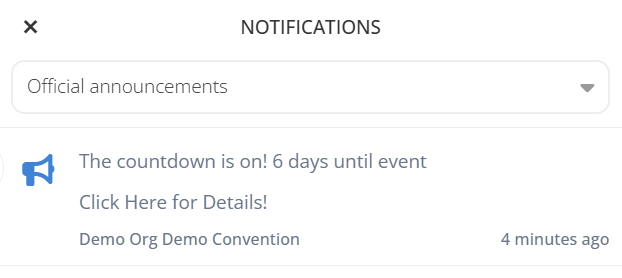
Sample Feed Announcement:
-
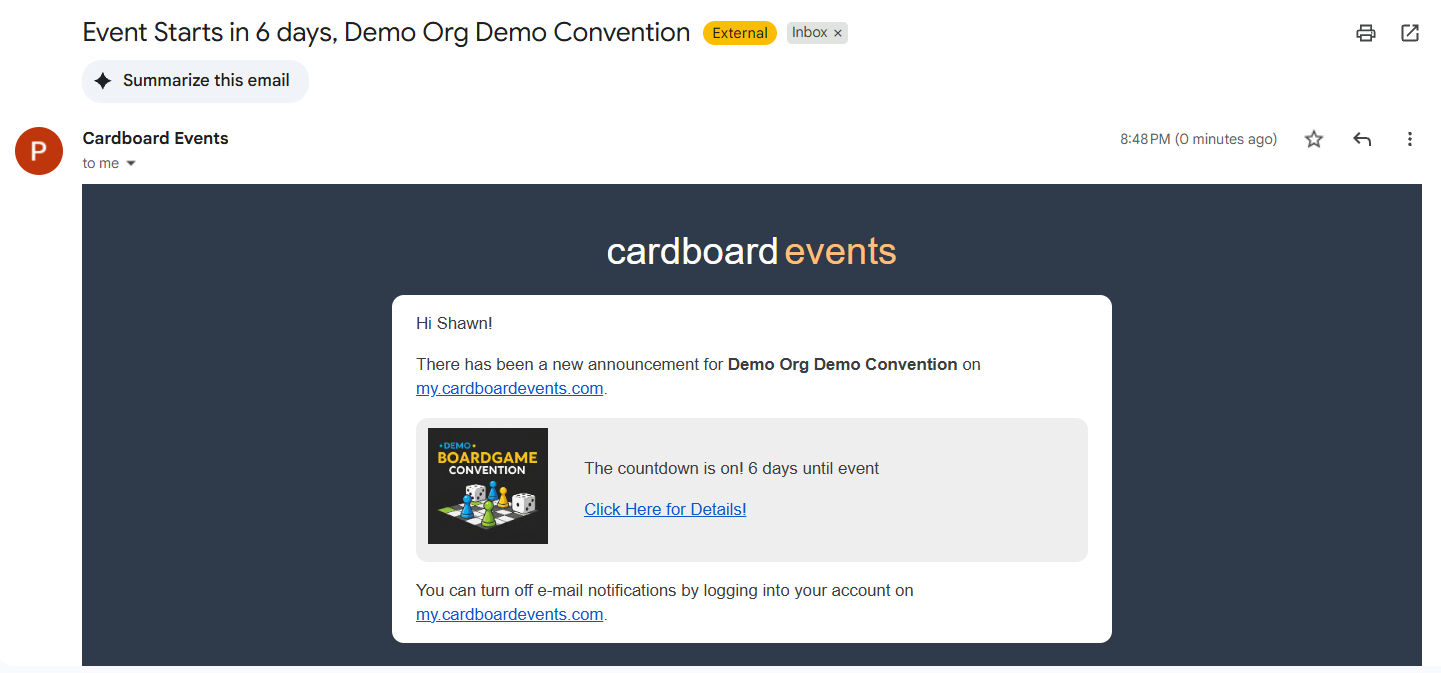
Sample Email Announcement:
-
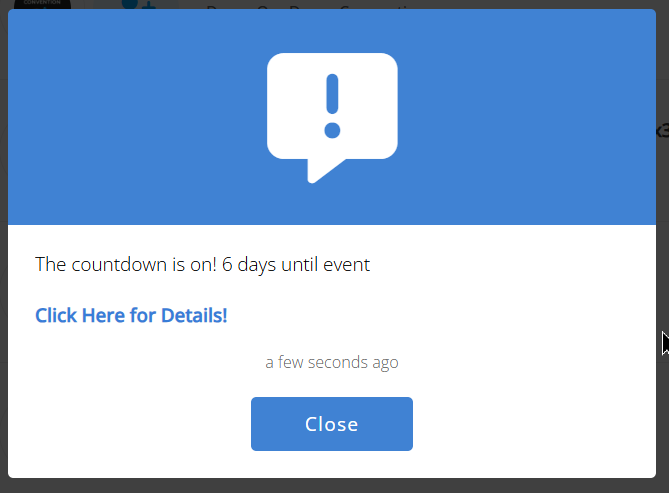
Sample Pop-up Announcement
¶ Older Documentation
-
Click the Announcements tab.
-
Click Create on the upper right corner of the page to create a message.
-
Specify the following settings:
a. Bold: Bold the selected text.
b. Italics: Italicize the selected text.
c. Underline: Underline the selected text.
d. URL Linking: Highlight text to link, enter the URL you want to link to in the right side panel, and select confirm.
e. Size of Text: Select Large Header, Small Header, or Paragraph size for selected text.
f. URL: Check the box and enter the URL if you want the message notification to go straight to the URL when clicking the text versus opening up the message panel and reading the message the normal way.
g. Scheduled: Check the box, enter a day, and time if you want to schedule the message to be automatically sent on that day and time. You can schedule multiple messages or even your whole convention’s messages if you desire. Do not check the box if you want your notification to go out immediately instead.
h. Email: Select NO if you do not want the message emailed in which case it will be sent via an in-system notification only. Select YES, if you want the message to send via email in addition to the system notification. Users must have their notification email setting set to YES on their profiles to receive notifications via email.
i. Pop-up: Select NO if you do not want the message to pop up and have to acknowledge on any screen the user is on it. Select YES, if you do want the notification to have to acknowledge on any screen the user is on before they can continue using the system.